
Pour the milk into a big pot and gently simmer on the fire. About 185°F (85°C), you want the milk to be warmed until just before boiling. The actual boiling of the milk should be avoided as it influences the texture of your cheese.
Once your milk reaches sufficient heat, take it off the burner. Stir slowly adding the white vinegar or lemon juice. As the acid works to separate the curds—solids—from the whey—liquid, you will see the milk start to curdle.
Let It Sit: Give the concoction a few minutes to settle. This resting time facilitates the curdling process and makes stranding of the cheese simpler.
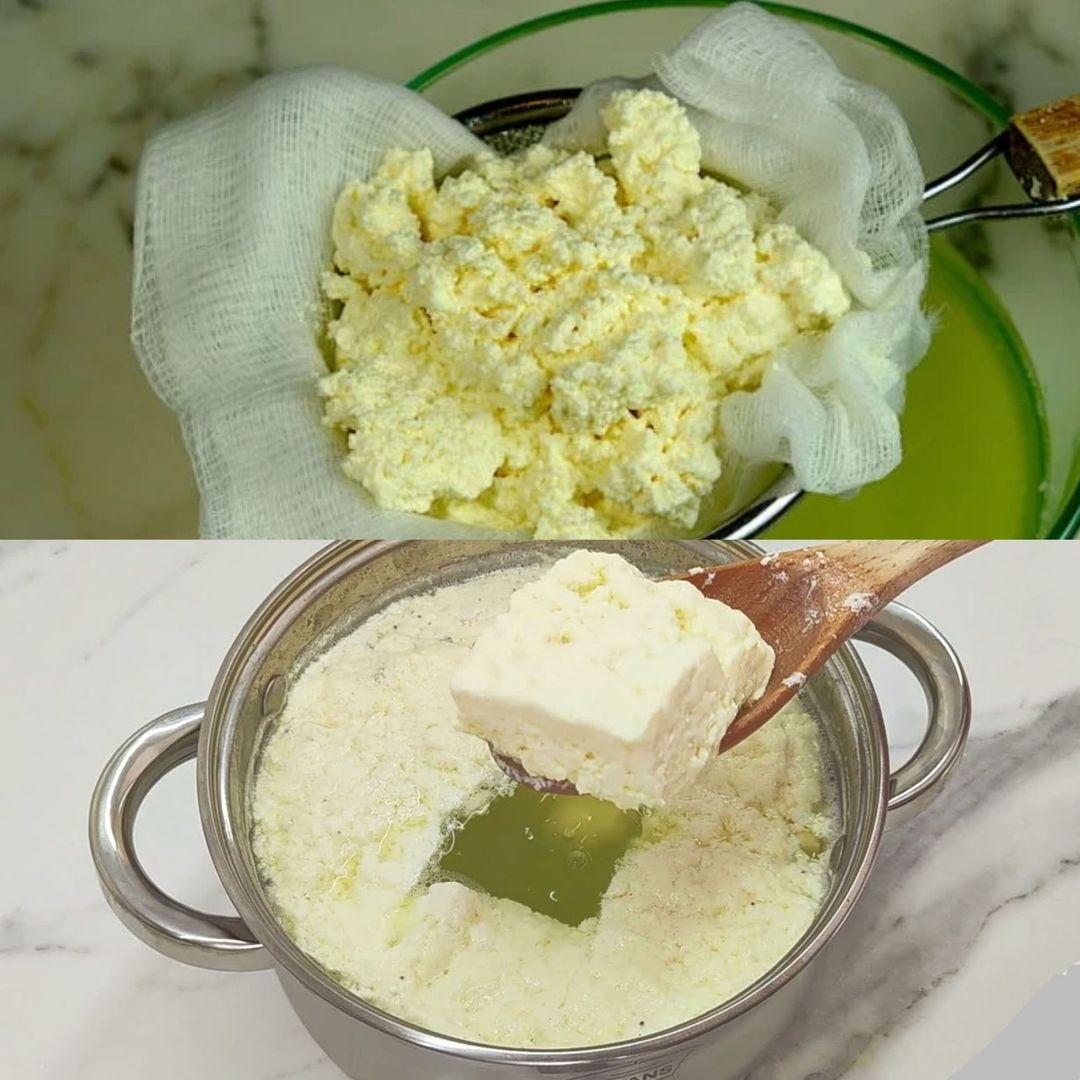
Line your strainer or colander with the cheesecloth or dish towel then cover the bowl over it. To cut the curds from the whey, pour the mixture into the lined strainer. Either discard the liquid whey or reserve it for another recipe—such as baking or smoothies.
Once drained, season and press the curds to taste by adding a little of salt. To get any last liquid, then collect the cheesecloth’s corners and gently compress. Press a hard cheese beneath a weighty item for a few minutes.
Like Your Cheese! Your handmade cheese tastes great right away. Perfect spread on crackers, tossed into salads, or just eaten raw with olive oil and herbs.
Finish
Making your own cheese at home is not only fun but also a better substitute for mass-produced, processed cheese. It lets you manage the components and savor the freshness of a good created by your own hand. Try it once, and you could discover that as a new, delicious pastime you start doing it routinely!
ADVERTISEMENT
